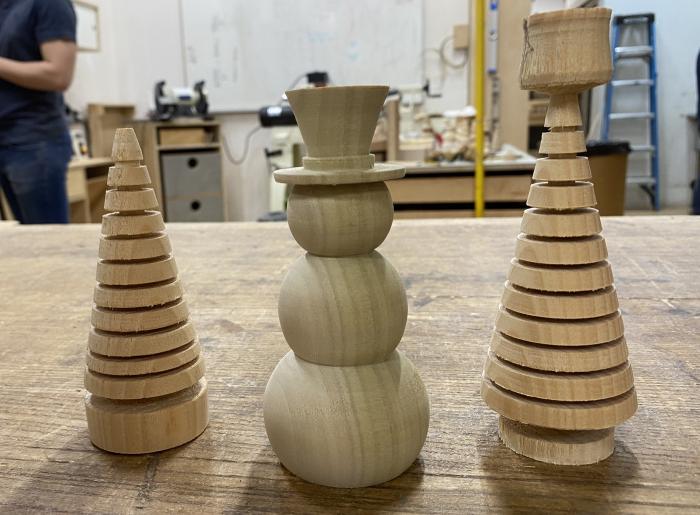
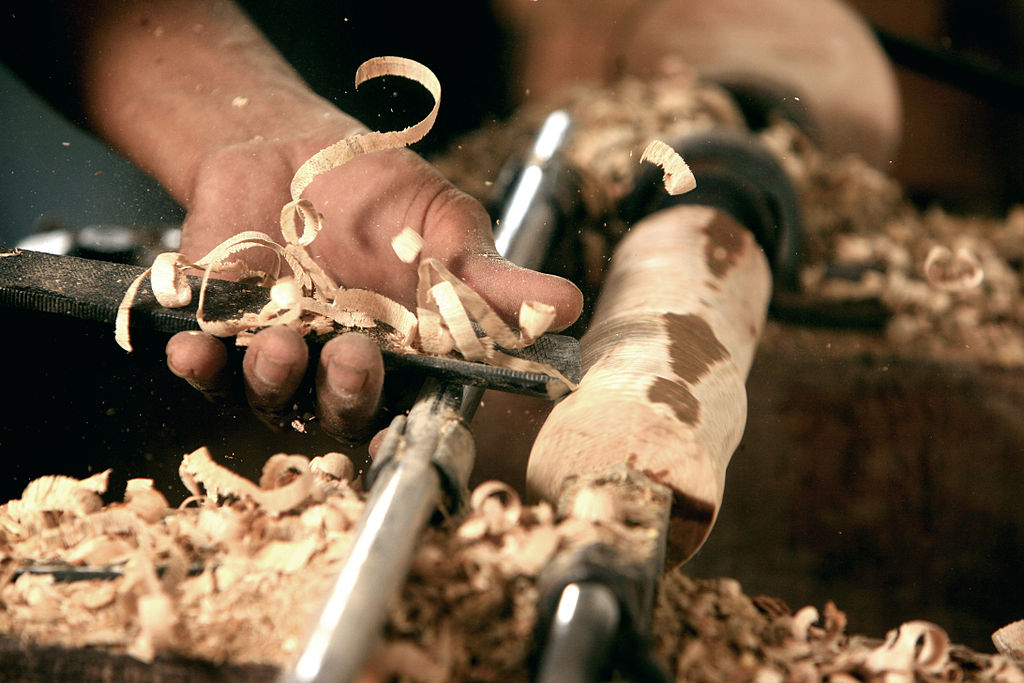
There are many different types of turning tools available. Some tools are made out of Carbide, others use HSS and Skew. To maximize its cutting power, a turning tool must be sharpened correctly. It can be frustrating for new turners to sharpen their tools. Some vendors sell tools with carbide inserts that can be replaced to make it easier. Experienced turners recommend traditional tools. Traditional tools have better cutting surfaces, are easier to use, offer more versatility, and can be used in a variety of different ways.
Carbide
A variety of Carbide tools can prove very useful when you are working on a wood-based project. You have the option of a Savannah Large Carbide Turning Tool, or a smaller one. The Savannah Large Carbide Turning tool is perfect for wood turners with all skill levels. The Savannah has a rotatable cutting head that eliminates the need for constant sharpening. Solid carbide will keep the tool sharper for longer than traditional steel tools.
You should remember that while these materials may have many similarities, their respective uses are very different. The carbide inserts in turners tools are generally slightly rounded or square, and are often referred to as "square-edged" tools. The square-edged carbide Inserts are the most effective for fastening heavy materials and removing them. The slightly rounded inserts provide a smooth finish.
HSS
HSS turners tools can be sharpened by using diamond hones. The diamond hones are an excellent way to quickly sharpen HSS turning tools. But preference can differ when sharpening the HSS scrapers and carbide. Some turners prefer to use tiny burrs from grinding wheels, rather than hones. This will depend on what type of turning you do, and the style of your tool.

Carbide tools take less time to learn than HSS-turners tools. Carbide tools are more popular among woodworkers than HSS turners. HSS turning instruments produce longer, curly shavings. Carbide shaves smaller than HSS. Both materials can be reused to repair holes in natural wood stock. They also offer a higher cutting speed. For those who are just starting, a carbide-tool may be the right option.
Skew
Most skew turners use the factory grind skew. This is often blunt. For hardwoods, the ideal bevel angle is between 25-70 degrees. To save money, you can also make a round skew from a cheap HSS blank. These tools are ideal for small items, like pens, but they also work well for larger items. We will be sharing some key tips to sharpen skews.
To cut beads first, you need to use a Skew Tool. This tool should be held close to the heel of your hand. During the cutting process, it is important that the heel of your tool remains in contact with the rest of the tool. It is essential that you get the right instruction and practice woodturning if your first time. You can learn how to make a good skew by practicing. Below are some useful skew-turner tools.
Adjustable sharpening jig
A set of tools doesn't necessarily mean you need to spend money and time on sharpening them. There are many tools available on the market that come already sharpened. You may also find tools with replaceable carbide inserts. These tools are often not recommended by experienced turners. Traditional tools are better, more durable, and cheaper in the long-term, according to many experienced turners.
The traditional method for sharpening turning tools is to use a bench grinder. This technique may work with older tools but does not duplicate a sharpened instrument. The bench grinder is a skill that requires practice and good hands. Reshaping wood pieces can take a lot of effort and time. A bench grinder can make it difficult to replicate the shape and sharpness a tool's existing design. The result is dull tools. An adjustable sharpening tool jig can be used to keep your tool in the right place and reproduce its shape. This will ensure that you have a perfectly edged tool every single time.
CBN grinding wheels
CBN turning wheels are stronger and more durable than traditional steel. The CBN grinding wheels can be ordered in three sizes, 150mm, 200mm or 250mm. You can order them individually. The wheels measure approximately 40mm in diameter with a 32mm hole. Some models may require shims to adjust the spindle size.
CBN wheels have a compact design that is durable and can be sharpened to make turning tools more precise. CBN wheels also can cut through carbide. They are durable and last a long time because of the strong bond between the grains, the hub and the hub. Some metals, however, are too soft to be used with CBN wheels. They can also clog the wheels, decreasing their grinding power. These materials can reduce the life expectancy of CBN-grinding wheels. You should not use these tools for ferrous materials.
FAQ
How can I learn basic woodworking skills
Building a bench is a great way to get started in furniture building. This project can be done with any kind of wood that you have at home. If you aren't sure what type of wood to use, you can buy cheap pine boards from Lowes or Home Depot. After building your bench, sand off any rough edges and apply a stain or varnish.
What should a woodworker be paid per hour?
Hourly rates for professional woodworkers vary depending on many factors such as skill, experience, availability, geographical location, and other variables.
The hourly average rate for skilled woodworkers runs between $20-$50.
An hourly rate of $10 for a less skilled woodworker could be possible.
What's the difference?
Hobbyists love making things from wood while professionals are more concerned with the quality of their work. Hobbyists take great pride in their creations, and share them with family and friends. Professionals will spend hours looking at designs before they start to build a project. They'll be meticulous about every aspect of their work, from choosing the best materials to finishing it perfectly.
Statistics
- In 2014, there were just over 237,000 jobs for all woodworkers, with other wood product manufacturing employing 23 percent; wood kitchen cabinets and countertop manufacturing employing 21 percent. (theartcareerproject.com)
- Most woodworkers agree that lumber moisture needs to be under 10% for building furniture. (woodandshop.com)
- Woodworkers on the lower end of that spectrum, the bottom 10% to be exact, make roughly $24,000 a year, while the top 10% makes $108,000. (zippia.com)
- The best-paid 10 percent make $76,000, while the lowest-paid 10 percent make $34,000. (zippia.com)
External Links
How To
How to join wood without using nails
Many people love woodworking. Woodworking can be a fun hobby because you can work with your hands to make useful objects from wood. You might want to join two pieces from the same wood, but you don't need to use nails. This article will explain how to do this so that your woodwork projects stay beautiful.
Before joining the pieces of wood together, you will need to first trim any edges. Avoid leaving sharp edges that could lead to problems later. Once you have done that, you can begin gluing your boards together.
If you are working on hardwood, you should only use glue on one side. You should glue both sides if you are working with softwoods such as pine and cedar. Press the boards down until the glue is fully incorporated. Be sure to let the glue dry before you move on to the next step.
After you glue your boards together, drill holes at the joints where screws will be inserted. The size of these holes depends on what type of screw you choose to use. For example, if your screw is a 1/2-inch wooden screw, drill a hole that is at minimum 3/4 inches deep.
Once you have drilled the holes, the next step is to drive your screws through the joint into the board's backside. Do not hit the boards' front surfaces. It will ruin the finish. Don't drive the screws too far into the end. This will prevent splitting in the end grain of the wood.
After your project is completed, you will need to protect it from the weather. You can seal the furniture pieces or cover the top. You'll want a product that lasts for many years. You can choose from oil-based varnishes or polyurethane, shellac and lacquer as examples.
You can find these products at most home improvement stores. Be sure to choose the right one for your project. Also, remember that some finishes are toxic and should never be used indoors. When handling certain finishes, wear protective gear.